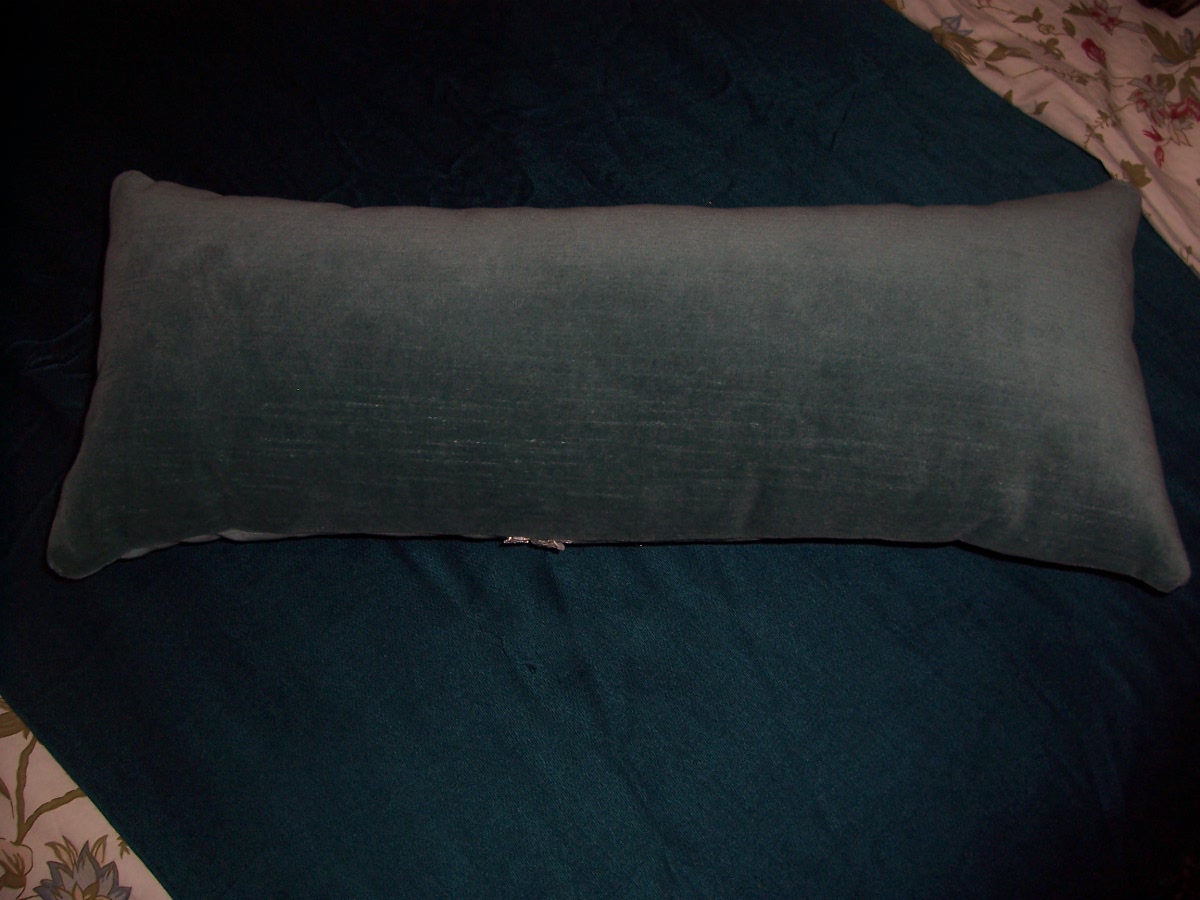
Last year I made this pillow for my bed, and the cover does come off for washing. The front is a dinner napkin from World Market and the back was from a sheet I bought at the thrift store. The trim, the most complicated part, was made of stretch micro mesh netting that I had to gather. I put a velcro opening in the back. I love it, because it has all of my favorite colors in one place. See, Jen, I have colors!! ~ Kellie
Monday, June 4, 2012
Microwave Cabinet
I needed to save the precious little counter space I have in the kitchen by hanging the microwave on the wall somewhere. So I took this little double door cabinet that hung in the basement and rebuilt it into a cabinet for the microwave.
Cabinet Before:
I took off the doors, sawed out the middle strip that stopped the doors, ripped off the back, and then built a framework for a ventilation screen at the back, as well as a hole for the cord to go out.
I made the back frame out of different sized pieces of wood. I had a hard time making the hole in the wood for the cord guide. I made a ring of holes with my drill’s largest bit, and then tried to cut the rest out with a saw. Wasn't the prettiest approach, but it functioned as a hole, and then I got one of those cord guides you see built into office desks and put it into my not-so-perfect hole.
I bought a piece of radiator screen and painted it white so that the heat from the back of the microwave could escape from the cabinet once on the wall.
Then I used an old shelf from the basement to make a ledge/inner base in the cabinet that was strong enough to hold the microwave.
Painted the whole thing white, and hung it up.
After:
I was so proud of it because I designed it myself and I think it is pretty and matches the pantry below. Hooray! ~ Kellie
New Kitchen Pantry
Before:
This is an old cabinet I bought for extra storage in our tiny kitchen. I got it off of craigslist for $50. It has sliding glass doors for the top section, but I took those out so I could store deeper stuff there. It was painted black with a dark teal inside the section with the doors and the top inside was cream. The hardware was brushed nickel.
I took off knobs, sanded, had to fill some gaps and damaged areas with wood filler, then painted it and put on new oiled bronze knobs. The splurge was the glass knobs, but I really love em. This cabinet was a gift from God, because not much else could've fit in that little corner! ~ Kellie
Wedding Gift
I made this throw pillow for Mike’s cousin, who is getting married later this month. I took velvet and a very small amount of bridal lace, stuffed it and stitched it. I am usually working hard to make pillows that have removable and washable covers, but the lace would have to be dry cleaned anyway, so it made the whole project a lot easier. I got my inspiration from a website that Jen showed me where someone used old lace over a pillow. ~ Kellie
Monday, April 9, 2012
A (late) Housewarming Gift
I took some boring, yellow cloth napkins (goodwill) and gave them new life with some scrap fabric and embroidery. I'm just an amateur embroiderer, but it does seem like such a nice thing to do this time of year.
I just used fabric I had previously found at Goodwill or scraps from mom's stash (!) and I had the embroidery floss from my sister.
The reason the pictures are so dark is that I forgot to take pictures until I was headed out to the post office to ship these to my sweet friend. The kids were already in the car waiting and I cleared a spot off the dining room table, snapped a few pictures and ran out to the car. So, I apologize.
-Jen
Monday, November 7, 2011
A Cat, a Princess and a Shark
The Cat
Tail - black dress sock of dads stuffed with grocery bags and pinned to pants
Mask - ears and eyes $1 at Michaels and nose egg carton with pipe cleaners left over from spiders
The Princess
Dress - mom's old flower girl dress
Belt - cardboard with jewels she glued on ($2 at Hobby Lobby)
Tiara - from her dress-up box
Wand - leftover trim from the kitchen cabinets decorated with tin foil star and other
embellishments from the craft basket
The Shark
Sweater - hoodie from his closet
Teeth and Fin - $2 for felt squares at Michaels
Eyes - scraps and buttons
Lots of money left over to buy the important stuff....CANDY!
Sunday, November 6, 2011
Egg Carton Spiders
Here's a project for the kids. Mine (ages 4 and 5) actually picked out the book at the library, chose the project and then did most of it. My two-year-old just cut up extra egg cartons with scissors.
Here's how it works:
We used an old egg carton, some pipe cleaners and some markers or paint. Cut out the individual egg sections and color or paint them. I don't recommend using markers as they (the kids and not the egg cartons) were covered in marker by the time we were done (also because we used styrofoam egg cartons), but we live and we learn! Then cut two black pipe cleaners in half so that you have four short pieces. Poke them through one side of the carton and back out through the other so that you have half sticking out one side and half sticking out the other. Repeat with the other three until you have eight legs total. Make a face on the front and then my daughter came up with the idea of putting "hats" on each of them....which works great if you want to hang them like we did!
These are really the only kind of spiders anyone would want in their house.
Smiling spiders. That never move.
Subscribe to:
Posts (Atom)